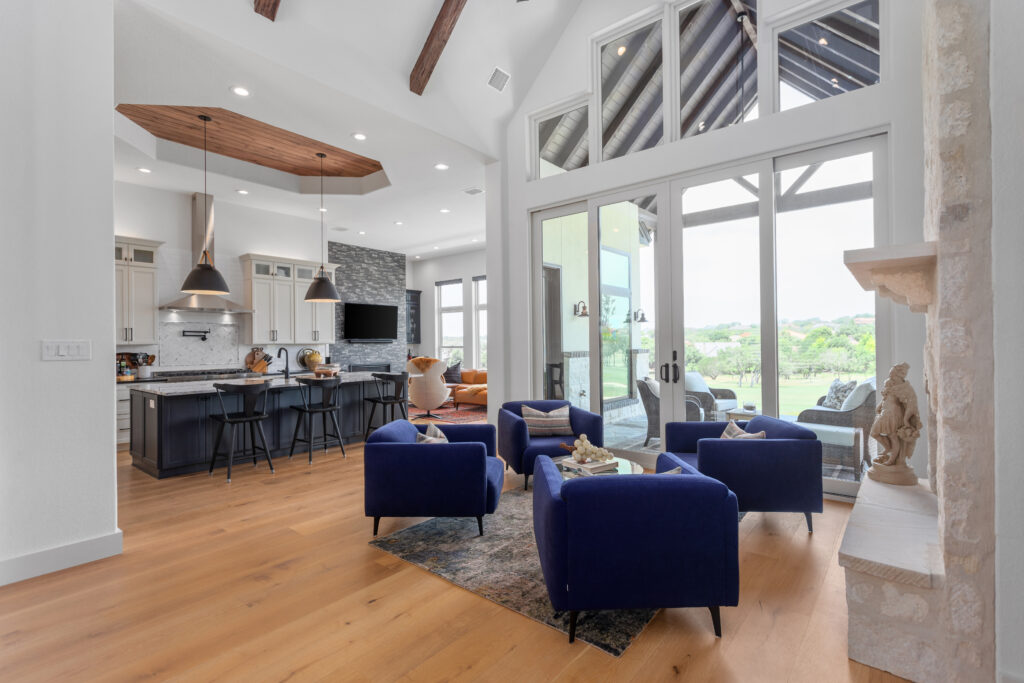
The biggest indicator of success of a real estate photography package is the level of preparation that’s been undertaken by the homeowner and/or the listing agent. As photographers, we can make your listing shine, but if it’s not properly cleaned, organized, decluttered, and landscaped, there’s only so much lipstick we can put on it!

Key Elements for Preparation
- Preparation should be done BEFORE we arrive. We are only on-site at a residential listing for an average of 30-40 minutes, depending on size, so there just isn’t time for much to be done after we arrive.
- Mow and trim the yard, blow the trimmings and leaves off of walkways and porches, and preferably do this at least 24 hours before your appointment.
- Outside, tidy up flower beds, uncover grilling equipment and make sure it’s clean, remove pool equipment and toys, hide pet toys and bowls, and generally make the outdoor spaces appealing.
- Don’t park a vehicle in your driveway or directly in front of the home at the curb. Either park in the garage or a bit down the street so that the front exterior shots look their best.
- Turn on all lights and turn OFF all ceiling fans. Replace any burned out light bulbs, and preferably change out the bulbs that appear at a different color temperature or color cast. Lamps aren’t always necessary to be on — sometimes it’s better to leave them off.
- Blinds, shutters, and curtains should usually be opened unless there’s an unattractive view out the windows, or if the windows are damaged or excessively dirty/foggy.
- De-clutter is the primary focus indoors. If something doesn’t add to the picture, it probably detracts. Brightly colored objects are the worst offenders, such as small appliances that don’t match the color scheme or kleenex boxes that are distracting.
- In the kitchen, remove magnets and notes off of the fridge; hide cleaning supplies and paper towels; remove dish racks; perhaps place a bowl of fruit on a countertop.
- In the dining room, set the table modestly and perhaps add some flowers or a centerpiece to the dining table.
- In the living room, put away most magazines, newspapers, pet beds, pet toys, remote controls, and other clutter. Start a fire in the fireplace if it’s easy to do so.
- In bedrooms, make beds with military precision and place all pillows and other decorations properly. Remove clutter from nightstands.
- In bathrooms, declutter the counter tops and hide (to the extent possible) supplies in the bath or shower.
- In the study, tidy up the desk surfaces, turn off computer monitors, and hide cords as much as possible.

What to expect during your appointment
We always arrive promptly at the designated appointment time. The photographer needs a few minutes to prepare the gear at the truck, and then we’ll usually begin working inside the home. This prevents us from tracking in dirt or mud since we’ll be inside first, and then outside.
We’ll begin with a brief look around the home, pointing out any small changes that should be made, such as blinds, shutters, lights, fans, etc. Then, we’ll begin shooting. Usually we’ll start on one side of the home and move through to the other side.
After the interior spaces are finished, we’ll move outside and capture the front and back views, yards, and outdoor spaces.
What’s next?
After we finish photographing the home, we’ll begin the editing process. Most residential shoots are delivered the next business day. Standard editing is applied to all photographs, and that’s included in your price. Special editing, such as object removal, might take a bit longer and cost a bit more (another reason why preparation is key).
Once the editing is complete, we’ll send the agent a link to download the photos in a format that’s ready for the MLS, and you can go live!
Make an appointment today by contacting Aaron Yates.